Friday, September 30, 2011

The '67 Impala runs!

Update on the Marina Blue Super Sport-

We got the rear window and new windshield installed, put the hood on, and started up the engine! Purrs like a kitten. Many details still need my attention, and they will get it next week so it can be made ready for the vinyl top and interior installation. Then the last of the chrome will go on and the wash mitt will get wet and there will be an eye-popping "after" picture. Between then and now, I'll keep on posting the details! Pardon the dust...


Tuesday, September 20, 2011

Impalas love chrome.

Got headlight adjusters today, so I finished up the grille area. Kinda crummy pic, though.
I got the A/C components in place and lots of other stuff is also installed, so now we are ready to finish out the harness. Brian is doing that for the next couple days, I'll be back on the F-100. The wheelwell and rocker chrome are a little dirty still, but I am glad to be at the "trimming it out" phase and think its lookin' sharp. Windshield and back glass should be in it on the next post. It will go to the vinyl top and interior specialist shortly thereafter, as soon as we can get it all driveable.

Wrong on so many levels ....

I walked past this scene today and thought it was worthy of comment. Its a twin turbo Toyota Supra I6 thats going into the '68 Cougar in the background, stacked on top of a blown 5.0 Cobra. Unusual. And wrong!

Saturday, September 17, 2011

Fixing rust under a windshield seal

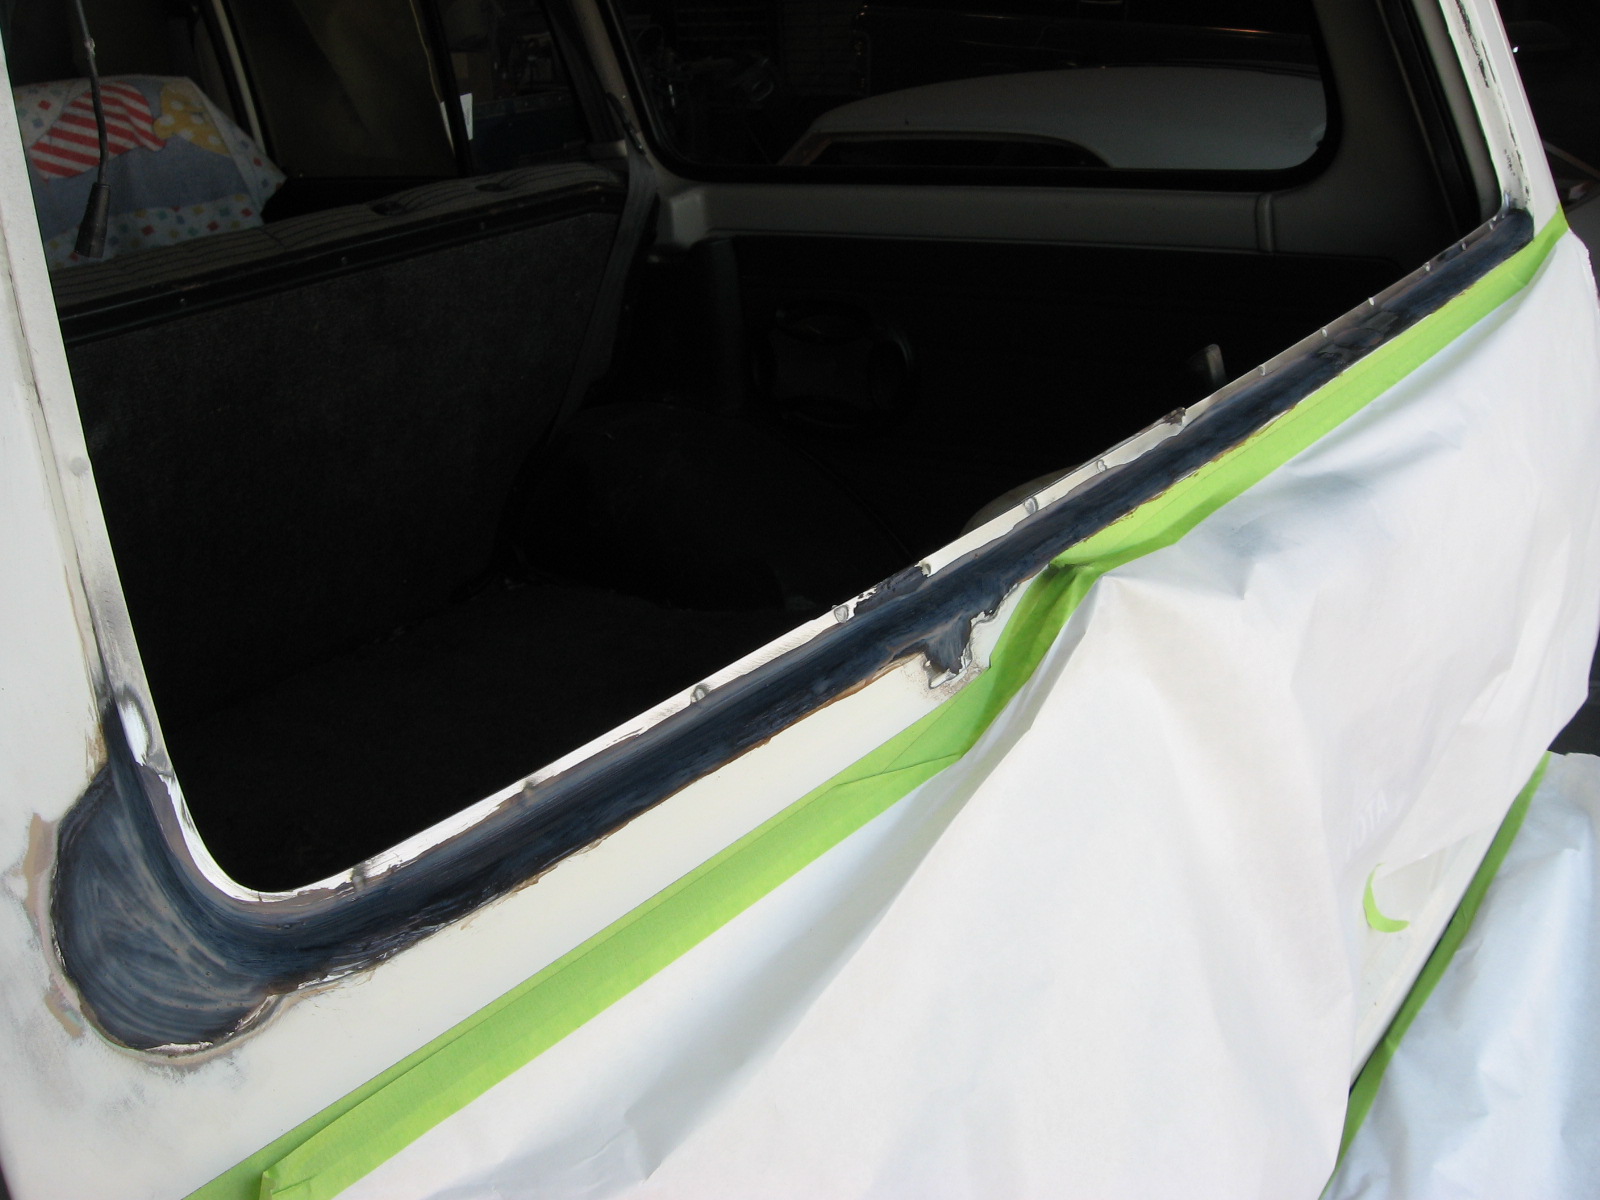
This Landcruiser came to me with the windshield and liftgate glass removed (and went home that way, too). It was obvious to the owner that naval jelly and a wire wheel wasn't going to cut it after removing the glass, so he brought it to the shop I work at.There are much worse cases of rust out there, but this one was missing part of the windshield mounting flange, so it was definitely time for a fix. Apparently there weren't many left hand drive diesel ones made in 1990, and this one is in nice condition otherwise.

Heres how it looked: (click pictures to enlarge)


Luckily the rust had not attacked the inner panel, so with proper caution, I was able to make the repair without removing the dash. That would have been a huge expensive project! The liftgate wasn't rusted through but was badly pitted. These pics are after the dash area has been protected with several layers of masking tape, then masking paper, then duct tape, then cardboard sealed with duct tape and moistened with a spray bottle, then a welding curtain sealed with tape. May sound like overkill, but I was working very close to the interior, and experience has shown this method to provide good protection against welding sparks. The hood was given the same treatment but with a layer of plastic foam padding rather than the wet cardboard, and the battery was disconnected at the ground terminal before welding.

The dark stuff is Eastwood's rust converter. It worked very well. I cleaned the metal first, with a 3M XT Clean n Strip disc, then poked around with a sharp punch to open up any weak rust pitted spots, then brushed on the converter per the instructions.


These pics show it prepared for welding, and two flange patches laying in place. I ground off the rust converter where I needed to weld, then carefully closed everything up with a mig welder. Then, using a 1/8" thick cutoff wheel and 40 grit on a 5" grinder, I smoothed out all the welds. It was time consuming, tedious, and in an awkward spot!


I finished that work out with a coat of Evercoat's Metal Glaze ... the liftgate got the same treatment, to fill pits.


Then it was primer time. DuPont urethane primer surfacer, three coats.


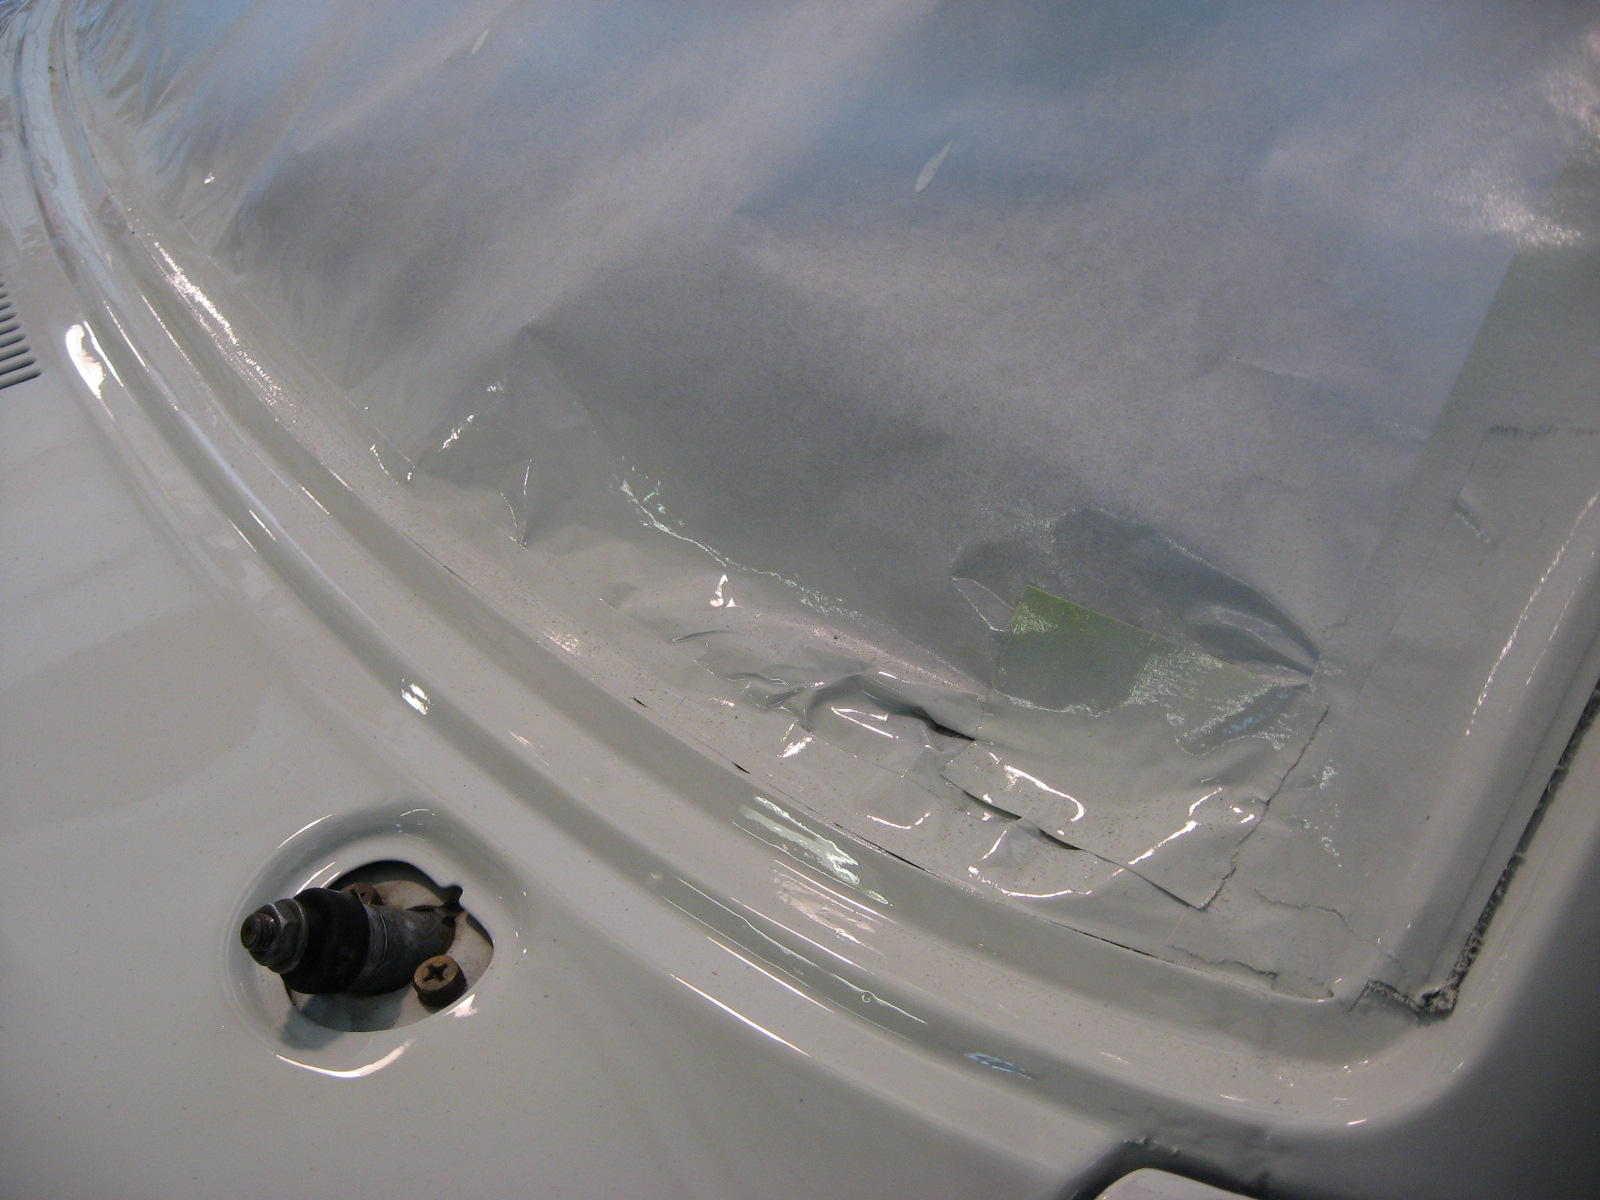
Heres the finished product after paint- glad to have been able to keep it simple. There were some large hole plugs in the firewall (for wiper linkage access) and thru those, I was able to coat the backside of the repair with epoxy primer using a small disposable acid brush for corrosion protection.


  Hope is not lost when you see rust. Just about anything metal can be fixed!

F-100 shaving door handles

Bear with me, these pics jump around a little, I'll explain as I go. Starting with the handle already removed....
This is the right side. I almost forgot to get a pic before cutting on my Sharpie line. Already started the cut.
Chopped it out with a 3" cutoff tool using a 1/16" thick disc. Cleaned it up after this, with a carbide burr.

We actually had an old donor door for this truck, so I cut two patches from it to match the curvature of the door at the handle. That made life simpler. Here I have taped one of the patches up behind the hole.
Then I dusted it with black spray paint and pulled the tape. Thats a magnet holding it up, but now my patch is marked off. I then put the patch in a clamp and cut it on the black's edge. 
Heres the ready to zap patch, after fussing over it for awhile to get the gap like I want for welding.
OK jump to the other side, I got in a hurry. This is what it looks like after carefully welding.
And there you have it! After carefully and patiently grinding down the weld, I sprayed a light coat of self etching primer to prevent flash rust until the rest of the door is ready to prime. I was told to just fix the hole in the door, other plans are in place for how to open it but I don't know how just yet.

F-100 left bedside metal straightening

First thing I did was to tackle the left bedside. The idea is to get the metal straight, then cover it with epoxy primer and move on until the whole thing is ready for the bondo stage. I didn't get a pic of it in primer, but you can see how there had been quite a bit of patching and straightening done already. The tail lamp panels were welded to the bedsides but the welds were unfinished. I also finished the front stake pocket cover. The wheel opening and the area behind it needed a good bit of hammer and dolly work


This last pic was just before primer.